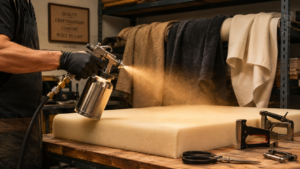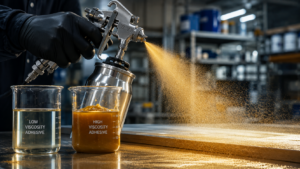
Adhesive spray guns are the quiet workhorses behind tight seams, durable bonds, flawless laminations, and production lines that keep moving. Whether you’re repairing reefer trailer walls, building cabinetry, installing roofing insulation, upholstering furniture, assembling foam products, or keeping an RV interior from rattling itself apart down the highway, your adhesive spray gun is the backbone of your workflow.
But here’s a universal truth in the world of adhesives:
Your spray gun will only treat you as well as you treat it.
When adhesive spray guns are properly maintained, they deliver consistent spray patterns, reduced overspray, minimized downtime, and years of dependable service. Neglect them, and you’re looking at clogs, sputtering output, shortened equipment life, frustrated team members, wasted adhesive, delayed jobs, and a repair bill that makes you wonder why you didn’t spend five minutes cleaning in the first place.
This comprehensive guide walks you through the best adhesive spray gun care practices, along with adhesive spray gun maintenance tips, spray gun longevity practices, and a realistic maintenance schedule for spray guns that works in busy shops. We’ll also talk about common mistakes, cleaning your adhesive spray gun the right way, and real examples from the industries Spray Guns and Hoses supports every day.
Let’s get your equipment running smoother, longer — and with far fewer “Why is it doing that?” moments.
Think of your adhesive spray gun like a high-performance tool — because it is. Adhesives are formulated differently depending on application, and the thicker, more aggressive formulas used in cabinetry, construction, trucking, and foam fabrication tend to leave residue behind. Without consistent maintenance, that residue eventually becomes a clog, a hardening layer, or a spray inconsistency.
Proper adhesive spray gun care means:
In high-output environments — like flooring warehouses that assemble 100+ panels a day, or reefer trailer repair crews working on tight deadlines — equipment reliability isn’t a luxury. It’s workflow survival.
Every spray gun has three main areas that require ongoing attention:
These are the parts that adhesive flows through: nozzle, tip, fluid needle, pick-up tube, and internal passages. Any adhesive buildup here affects flow and consistency.
These include the air cap, air passages, and air inlet. Debris in these areas impacts atomization, leading to uneven spray patterns and overspray.
These provide pressure stability. When adhesive infiltrates seals or dries around moving parts, your spray gun begins to leak, stick, or lose pressure.
Understanding these areas helps you identify what “normal” looks like — and what early warning signs look like too.
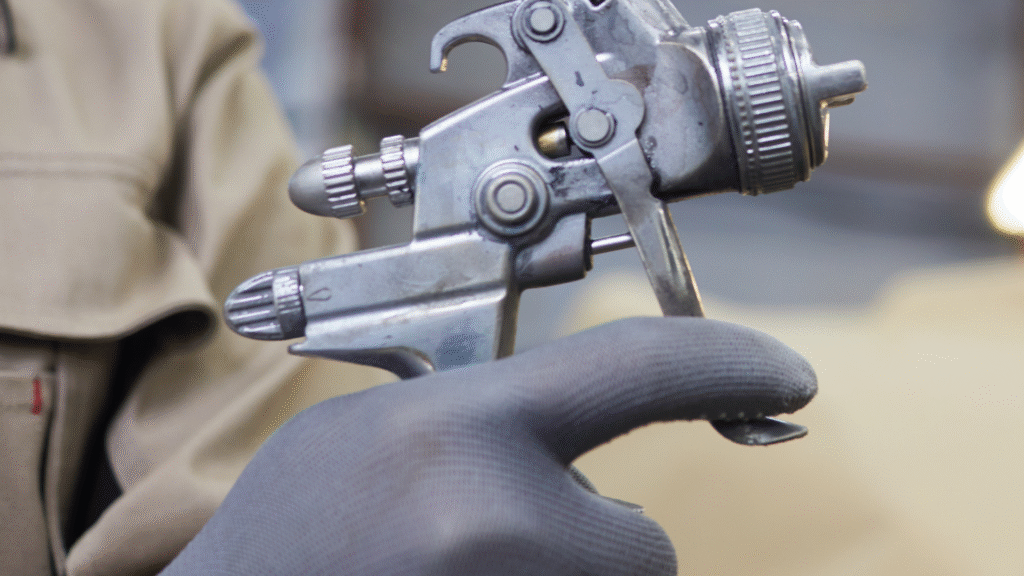
Your daily routine doesn’t need to be elaborate. It just needs to be consistent. Here’s the simplest version of maintenance schedule for spray guns for daily operations:
Even if it’s “just a quick project,” adhesive starts curing immediately. Don’t give it the chance.
A cabinet shop applying high-volume spray contact adhesive to laminated countertops skips flushing “just once” after a rush job. The next morning? Hard, cured adhesive blocking the fluid needle. Their whole production line freezes while someone takes the gun apart. A 2-minute rinse the night before could’ve prevented a 45-minute emergency cleaning session.
Lesson: Adhesive waits for no one.
Think of this as brushing your teeth. Quick and essential. Adhesive buildup on the nozzle is the #1 reason for spray pattern changes.
Wipe immediately after spraying while the adhesive is still soft.
If the spray feels uneven, “spitty,” or weak, airflow is often the culprit.
Hang them, rack them, or place them in a stand. Whatever you do — don’t toss them in a toolbox where adhesive dust, metal shavings, and shop debris can enter the air passages.
Weekly maintenance is all about preventing buildup that daily cleaning doesn’t fully address.
A full internal cleaning ensures long-term reliability.
RV repair shops often use multi-viscosity adhesives to handle different interior materials (foam, wood, paneling). Over time, small amounts of adhesive dry in the pick-up tube. Weekly deep cleaning prevents these “mini clogs” from becoming full blockages.
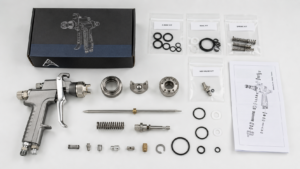
These small components play a huge role in pressure retention and accuracy.
Look for:
Replace seals at the first sign of wear — they’re inexpensive compared to the cost of downtime.
Spray patterns indicate gun health.
Watch for:
If the pattern suffers, inspect the nozzle, tip, and air cap for partial blockages.
Certain spray guns require food-grade or adhesive-safe lube for moving metal components.
Never use random shop lubricants — they can react with adhesives.
Monthly care protects the long-term life of your system.
For both pressure systems and canister systems (Spray Kits 1–3), watch for:
A cracked hose can ruin an entire day’s production.
Even if the gun still sprays, worn nozzles affect:
Cabinet shops, in particular, see wear faster due to high-volume spraying.
Dust, fine wood particles, insulation fibers, and adhesive mist can find their way into air systems.
Roofing and insulation crews often see the most buildup due to jobsite debris.
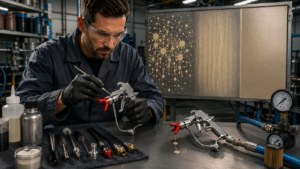
Incorrect cleaning causes more damage than regular use. Here’s the correct method widely used across carpentry shops, upholstery facilities, and trailer repair shops.
Never begin cleaning while a canister or pressure pot is still pressurized.
Remove the canister, disconnect lines, or shut off pressure.
You’ll want to use the solvent recommended for your adhesive type. Avoid harsh solvents that degrade seals.
Use soft brushes — never wire brushes unless the OEM recommends them.
Use cleaning swabs or nylon cleaning tools made for adhesive guns.
A loose nozzle means poor spray performance. Tighten to manufacturer torque recommendations.
Using metal picks on internal parts scratches the fluid path, causing turbulence and buildup.
Soft tools only — and if you’re not sure, we can guide you.
If you’ve ever wondered why your gun clogs “even when you clean it,” check out this article on your website:
5 Tips to Stop Your Spray Gun from Clogging
This internal link reinforces SEO relevance and helps users solve maintenance problems faster.
Because real shops, real crews, and real workflows are where proper maintenance makes the biggest difference.
A furniture plant using high-tack upholstery adhesive was experiencing “spitting” patterns halfway through each shift. After a maintenance evaluation, we found that operators weren’t flushing after lunch breaks, allowing adhesive to partially harden in the fluid needle.
After implementing quick lunchtime flushes, spray consistency improved by 40% and adhesive waste dropped dramatically.
Acoustical installers rely on smooth, wide spray patterns for coverage. One team noticed “tiger striping” on panels. The cause? A partially blocked air cap.
A simple weekly air cap deep-clean eliminated the issue — and stopped callbacks.
Cabinet shops rely heavily on both canister adhesive kits and the FZ10L pressure system. Many rush from project to project, unknowingly building up adhesive inside the fluid passageways.
Switching from “end of day cleaning” to “end of project cleaning” extended their equipment life dramatically.
RV shops often move between multiple adhesive types, including foam adhesive, construction adhesive, and general contact spray. Without full flushing between adhesives, residue causes chemical reactions inside the gun.
One shop cut equipment issues in half simply by adding a 5-minute flush between product changes.
These spray gun longevity practices separate average maintenance from elite-level upkeep.
Even if you didn’t spray much. Even if you think “it’ll be fine.”
It won’t be.
Random solvents can damage seals, needles, and hoses.
Your spray pattern is like the heartbeat of your equipment — it tells you everything.
Tips, nozzles, and O-rings are inexpensive. Downtime isn’t.
Especially in high-volume operations. The right $15 replacement part can save a $1500 day.
This checklist reinforces proper adhesive spray gun care and can be posted in any workshop.
Adhesive spray gun care isn’t just about cleaning — it’s about building a reliable workflow that saves time, adhesive, money, and headache. If you follow these adhesive spray gun maintenance tips and commit to a practical maintenance schedule for spray guns, you’ll enjoy smoother production, fewer surprises, and dramatically longer equipment life.
At Spray Guns and Hoses, we don’t just supply equipment — we partner with industries that depend on reliable adhesive application every single day. From canister systems to pressure systems like the FZ10L, our job is to keep you spraying smoothly and confidently.
If your spray gun needs replacement parts, troubleshooting, or a fresh start, we’re here to help — always with expertise, honesty, and a little shop-friendly humor.
Your production deserves equipment that works as hard as you do.
Let’s keep it that way.